Adding products to your WooCommerce store might sound like a big task, but it’s actually pretty straightforward once you get the hang of it. Whether you’re launching a new shop or just updating your inventory, knowing exactly how to use the “woocommerce add a product” feature can save you time and headaches. In this guide, we’ll walk through every step, from the first click in your dashboard to hitting that publish button and seeing your product live.
Key Takeaways
- Getting to the WooCommerce product editor is as simple as clicking ‘Add New’ under Products in your WordPress dashboard.
- Product titles and clear descriptions make it easier for shoppers to understand what you’re selling.
- Choosing the right product type (simple, variable, grouped) and filling in price, stock, and shipping info helps avoid confusion later.
- Adding images, categories, and tags keeps your store organized and makes products more appealing.
- Always preview your product before publishing, and double-check all details to make sure everything looks right.
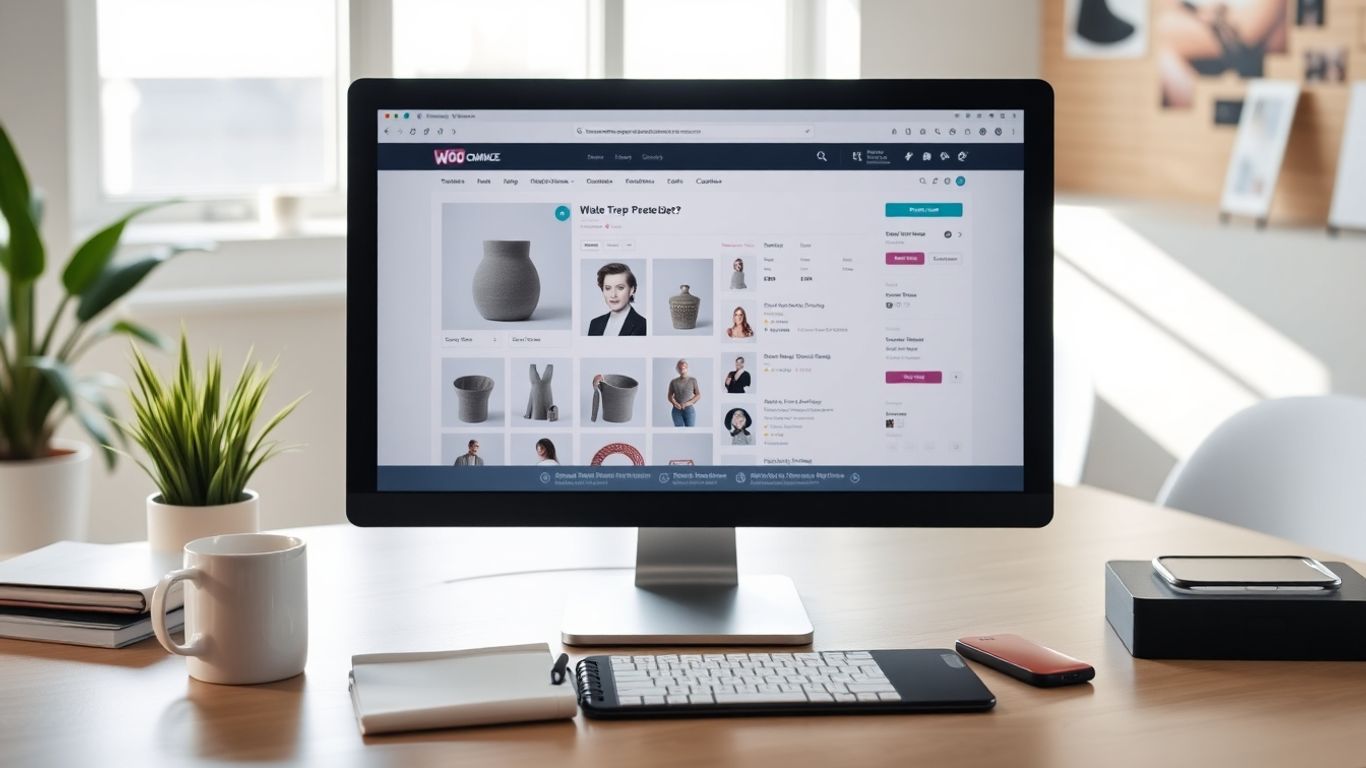
Accessing the WooCommerce Product Editor
When you’re ready to add a new item to your shop, WooCommerce makes it surprisingly straightforward. The product editor acts like your main workspace—sort of the command center for all things related to what you’re selling. Let’s break down exactly how you get to it, what to expect, and how to feel less lost your first time in.
Navigating the WordPress Dashboard
If you already use WordPress, you’re probably familiar with the sidebar menu. From your dashboard:
- Look for the Products section.
- Click the Add New button or link.
- This brings up WooCommerce’s dedicated product editor.
It’s the same rhythm as adding a new post or page. Here, WooCommerce stands out compared to other platforms—its product editor is baked right into the WordPress experience, making it a favorite for those who want an affordable yet flexible solution (WooCommerce stands out for its flexibility).
The first few times you do this, it might feel a bit overwhelming. After a few repetitions, it’ll start to feel routine—and you’ll find new shortcuts every time you add a product.
Opening the Add New Product Page
After selecting Add New under Products, you reach a blank product editor. This is where you fill in all your details:
- Enter your product’s name (the title field is at the top)
- Add a full product description just below
- Scroll, and you’ll find sections for images, categories, tags, pricing, and more
Everything is organized in clearly marked boxes, making it easier to focus on one thing at a time.
Understanding the Product Editor Layout
The editor is split into different sections, so you won’t miss anything important. Here’s what you’ll see:
- Top Section: Product name (title)
- Main Content Area: Full description with a standard editor (where you can add images, headings, lists, or even bits of code if you’re handy)
- Product Data Panel (box below main area):
- Tabs for pricing, inventory, shipping, and linked products
- Dropdown for product type (simple, variable, grouped)
- Sidebar:
- Categories and tags selection
- Product image and gallery upload
- Visibility and publish options
Most tasks are just a click or two away. If you make a mistake, don’t worry—nothing goes live until you publish, and you can always edit later.
- Easy access from the dashboard
- All key fields grouped logically
- One place for all essential details
Familiarizing yourself with the product editor is the first step to getting your new product up for sale. Once you’re comfortable here, the rest of the process feels a lot less intimidating.
Entering Basic Product Information for Listings

Filling out the basics of a WooCommerce product listing may feel routine, but these details are what actually sell your product. Missing fields or unclear descriptions can confuse shoppers and cost you sales. Here’s how to do it right, one section at a time.
Writing Product Titles and Descriptions
Your product title is the headline—don’t overthink it, but keep it specific. Shoppers want to know exactly what they’re getting. For example, instead of just “Sweater,” say “Men’s Knit Wool Sweater Navy Blue.”
When it comes to the main product description, give folks all the information they need to imagine the item—you can talk about uses, what makes it special, or even how it feels to use. Start strong in your first two sentences, then lay out extra details so shoppers don’t have to hunt for them. Use plain language and keep paragraphs light.
Checklist for your product description:
- State what the product is and its standout features up top
- Explain materials, sizes, included accessories, or compatibility
- Mention anything the customer might wonder about (e.g., assembly, fit, warranty)
Think of your product description like talking to a friend who’s interested but just not sure yet. The more clear you are, the easier it is for them to hit “add to cart.”
Creating Short Descriptions for Visibility
The short description appears near the price and “add to cart” button. This is your quick pitch—just a sentence or two that sums up the core benefit and appeals to buyers in a hurry. Skip the fluff and be direct.
Tips for a solid short description:
- Highlight the main use or perk (for example: "Stays cold for 24 hours—perfect for travel.")
- Keep this part short, focused, and with your target shopper in mind
Using Bullet Points for Clarity
Some shoppers skim, so bullet points are your best friend for scannable specs. List key features, materials, sizing info, or whatever stands out—even special washing instructions.
Sample bullet points:
- 100% cotton, pre-shrunk
- Fits true to size—choose your regular fit
- Machine washable, tumble dry low
- Available in three colors: Black, Blue, and White
- One-year no-questions warranty
Tables can also be helpful for complex specs, but usually, a simple bulleted list is enough. The goal is to help customers feel informed without making them dig around for the basics.
Configuring Product Data and Types in WooCommerce
When you’ve got your basic product info down, it’s time to dig into the Product Data section. This is where WooCommerce really lets you tailor products to fit whatever you’re selling—whether it’s a one-off item, a bundle, or digital downloads. A lot happens in these tabs, but the steps are pretty logical once you get the hang of them.
Choosing a Product Type: Simple, Variable, or Grouped
WooCommerce gives you several product types to fit just about any shop setup—physical goods, digital products, or even collections of items. Picking the right product type right away helps you avoid backtracking later.
Here’s a quick glimpse of the common options:
| Product Type | What It’s For |
|---|---|
| Simple | Single item, no variations |
| Variable | Options like size or color |
| Grouped | Bundled items that can be bought alone |
If you’re curious about choosing the best setup for your store, keeping your website organized and visually clear can really make things smoother, as detailed in advice for platform aesthetics and organization.
Setting Pricing, Sale Options, and Tax Details
- Enter your product’s regular price in the "General" tab. If you want to run a sale, add your sale price (and set a sale date if needed).
- For variable products, you can set unique prices for each variation, like a different price for each t-shirt size.
- Check if your product is taxable. Select the correct tax class from the drop-down, so you don’t end up with a tax headache later.
Setting up price options upfront helps your customers see your best deals with no surprises during checkout.
Managing Inventory and Stock Settings
This is where WooCommerce shines if you want to keep tabs on what you’ve got in stock. Head into the "Inventory" tab:
- Assign an SKU to each product or variation so you can easily track them.
- Set your stock quantity (like, say, 15 items), and WooCommerce will handle the math as sales happen.
- Decide if you accept backorders or want to mark things as "out of stock." This is especially useful if products come and go fast.
- Limit purchases if you want, so nobody grabs all your inventory in one go.
Adding Shipping Dimensions and Weights
If you’re selling physical items, this part matters for both you and your customers:
- Enter the weight (in lbs, oz, or whatever’s standard for your shop).
- Add dimensions—length, width, and height help carriers calculate shipping rates.
- Pick a shipping class if you charge different rates for, say, "bulky" items versus tiny accessories.
A simple checklist for shipping setup:
- Weigh your product accurately.
- Measure the box or package size.
- Set the correct shipping class for precise fee calculations.
Getting all this data in place from the start means fewer hassles for your customers and way less work for you down the road. And as always, don’t stress if you miss something at first—you can come back and tweak these settings anytime.
Enhancing Products with Images, Categories, and Tags
When you’re setting up a new product in WooCommerce, don’t just focus on the basics—adding images, organizing with categories, and using tags will help people actually find (and buy) what you’re selling. Let’s get into the details.
Uploading the Main Product Image
The picture you choose as your main product image will stick with shoppers, so make it count. Pick a photo that’s crisp, well-lit, and shows your product at its best. Ideally, use a plain background and show the product fully. If you’re selling something like shoes, show the whole pair. Don’t forget, this image is what shows up in listings and category pages, so you want it to stand out.
A few tips for perfect main images:
- Use a square or slightly rectangular format (WooCommerce crops oddly shaped photos)
- Keep image files under 500 KB for fast loading
- Shoot at 1000px by 1000px or higher for zoom clarity on product pages
People click on images before they ever read the details—get their attention with the photo and they’ll stick around for everything else.
Building a Product Gallery
Sometimes, one image just won’t cut it. Add more to your product gallery so customers can see your product from every angle—front, back, side, and maybe even being used. In WooCommerce, just hold CTRL (or Command on Mac) and select as many photos as you need from your media library.
Here’s a super quick checklist for effective galleries:
- At least 3 images: main view, side/alternate view, and close-up of detail
- Lifestyle photo showing the product in use
- If relevant, image with packaging or size comparison
Assigning Categories and Tags for Organization
Having your products organized isn’t just for your own sanity—it’s the easiest way for customers to browse and find what they need. Categories are broad groups (like Shirts, Shoes, Accessories), while tags are things like "summer," "eco-friendly," or "blue."
To assign categories:
- In the editor, look for Product categories.
- Tick one or more boxes that fit.
- Or click ‘Add new category’ if what you want isn’t there. You can set up parent/child categories, too.
For tags:
- Find the Product tags box.
- Type in keywords, separated by commas. Press ‘Add.’
- Use ‘Choose from the most used tags’ to reuse previous ones.
If you’re not sure how categories and tags really differ, check out this solid breakdown of using tags and categories in WooCommerce.
| Feature | Categories | Tags |
|---|---|---|
| Structure | Hierarchical (parent/child possible) | Flat (no hierarchy) |
| Use | Broad store sections | Specific features/topics |
| Example | "Shoes" > "Sandals" | "leather", "blue" |
When your products have proper images, clear categories, and smart tags, you’ll make it way easier for customers to find the exact item they’re after. Plus, it helps with internal search and can give your SEO a nice little bump, too.
Optimizing Your WooCommerce Product Listings for Sales
Getting your product in front of customers isn’t enough—the real challenge is getting them to buy. Below you’ll find some straightforward strategies for making your WooCommerce listings work harder for you.
Writing Clear Meta Descriptions
A meta description is the short summary that shows up under your product in search results. A good meta description quickly tells people what makes your product worth clicking.
- Keep it under 160 characters.
- Use simple wording that describes the product and a key benefit.
- Include your main keyword naturally for better visibility.
People tend to click on product links that are easy to understand and offer something unique. One strong sentence can be the reason for more visits to your store.
For more tips on product content, check these ideas on writing effective product descriptions.
Utilizing Schema Markup for SEO
Schema markup helps search engines read your product page better. Adding it can make your products stand out in results by showing prices, ratings, or stock levels directly in Google.
- Check if your theme or SEO plugin includes Schema for WooCommerce products.
- Include details such as price, availability, and reviews.
- Test your product pages using Google’s Rich Results tool to make sure schema is working.
A little bit of technical work here goes a long way for getting more eyes—and clicks—on your products.
Enabling Customer Reviews
Customer reviews offer social proof. If you enable them, people see that others have bought (and hopefully enjoyed) your products, which builds trust.
- Turn on the "reviews" setting in your WooCommerce product options.
- Ask recent buyers to leave feedback by sending a gentle follow-up email after a purchase.
- Moderate reviews but let both positive and negative reviews show—shoppers appreciate honesty.
| Benefit of Reviews | Why It Matters |
|---|---|
| Builds trust | Customers trust others |
| Boosts SEO | Fresh content helps rank |
| Answers questions | Fewer support requests |
If you keep your descriptions clear, help search engines recognize your products, and make your shop a place customers trust, you’ll see better results over time. Consistency is what pays off most in the long run.
Applying Advanced WooCommerce Product Features
Let’s look at features in WooCommerce that go beyond the basics. These extras can help your products stand out and make your online store more useful for you and your customers.
Setting Up Linked Products for Upsells and Cross-sells
If you’re looking to sell more with each order, using linked products is the way to go. Linking items is about suggesting relevant products to your shoppers:
- Upsells are higher-end items you recommend on the product page, hoping your customer might choose those over what they’re already looking at.
- Cross-sells pop up in the cart, nudging people to add related products (like “add a cable to your camera order”).
- You can set them up in the Linked Products section of the WooCommerce product editor, and they’re easy to update as your catalog grows.
Adding upsells and cross-sells not only helps your revenue but also gives your customers ideas for what else they might need, making shopping just a bit smoother.
Adding Custom Attributes like Size and Color
Some products need more than just a description and a price. Think t-shirts, shoes, or bags—they come in different sizes, colors, or even materials. That’s where custom attributes come into play:
- Create an attribute (like "Size" or "Color") in the Attributes tab.
- Add all the options separated by pipes (for example: Small | Medium | Large).
- Save and use these to create product variations, so customers can pick exactly what they want.
This setup is handy when you want buyers to filter products or be crystal clear about their choices right from the start.
Using Plugins for Extra Functionality
Plugins take WooCommerce to the next level. Here’s how they can help:
- Add special product fields, like extra images or warranty info.
- Enable bulk discounts or dynamic pricing.
- Offer advanced inventory management.
- Let customers upload files (for custom print products, for example).
Here’s a quick table showing reasons to install plugins:
| Feature | Why Use It |
|---|---|
| Advanced pricing rules | Run promotions, loyalty programs |
| Product add-ons | Sell customizations or upgrades |
| Enhanced shipping options | Offer flexible delivery rates |
Most plugin installs take just a few clicks in your WordPress backend, and there are options for nearly every store need you can think of.
Making full use of WooCommerce’s advanced features doesn’t have to be complicated. With a few tweaks, your product pages do more work for you and give customers a better experience.
Publishing and Reviewing Your WooCommerce Product
Launching a new product in WooCommerce isn’t just about hitting Publish. There’s plenty to double-check before releasing something to your store. Here’s how you can make sure every product goes live just the way you want it.
Previewing the Product Page Before Going Live
Always hit the Preview button first. This lets you view your product page exactly as customers will see it, so you can spot anything weird or off.
- Check if images are sharp and the right size
- Read through product details for any layout issues
- Test mobile view since many people shop on their phone
Previews are your secret weapon—take a few moments to catch mistakes now, before the world sees them.
Double-Checking All Product Information
Run through your product details with a fine-tooth comb before publishing. A few key things to check:
- Product name spelled correctly
- Price and stock status listed right
- Descriptions are short, clear, and free of errors
- Images match the product and are high quality
- Categories and tags are correctly assigned
Here’s a quick checklist:
| Item | Checked? |
|---|---|
| Title & Description | |
| Prices & Stock Status | |
| Images | |
| Categories & Tags |
Publishing and Making the Product Live
When everything looks good, it’s showtime. There are two main options:
- Publish Immediately: Your product appears in your shop right away.
- Schedule Publishing: Set a date and time for the product to go live (helpful for launches or sales).
- Adjust Product Visibility: Make your product visible to everyone, limit it to just your shop, or keep it hidden for now.
After clicking Publish, your product is active and ready for customers to find. If you spot a mistake later, you can always edit and update the product in WooCommerce. That’s the nice thing about online stores—nothing is set in stone.
Wrapping Up
Adding a product to your WooCommerce store isn’t as tough as it might seem at first. Once you get the hang of the steps—filling in the details, uploading images, setting prices, and hitting publish—it starts to feel pretty routine. Just remember to double-check your info before going live, and don’t be afraid to tweak things as you go. With a bit of practice, you’ll be adding products in no time and your store will be ready for customers.
Frequently Asked Questions
Can I add more than one product at a time in WooCommerce?
Yes, WooCommerce lets you add many products at once by using the import tool. You can upload a CSV file with your product details, and WooCommerce will create all the products for you.
What is the difference between a simple and a variable product?
A simple product is one item with no choices, like a single book. A variable product has options, such as different sizes or colors, so customers can pick what they want.
How do I add product images in WooCommerce?
To add images, go to the product editor, scroll to the ‘Product image’ section, and click ‘Set product image.’ You can also add more pictures to the product gallery to show your product from different angles.
Why should I use categories and tags for my products?
Categories and tags help organize your store. They make it easier for shoppers to find what they want and help search engines understand your products, which can increase your sales.
How can I let customers leave reviews on my products?
In the product editor, scroll to the ‘Product data’ section and check the box that allows reviews. Reviews can help other shoppers trust your products and can improve your store’s reputation.
What should I do before publishing a new product?
Before publishing, double-check all your details, make sure the pictures look good, and use the preview button to see the product page as your customers will. Fix any mistakes before making it live.