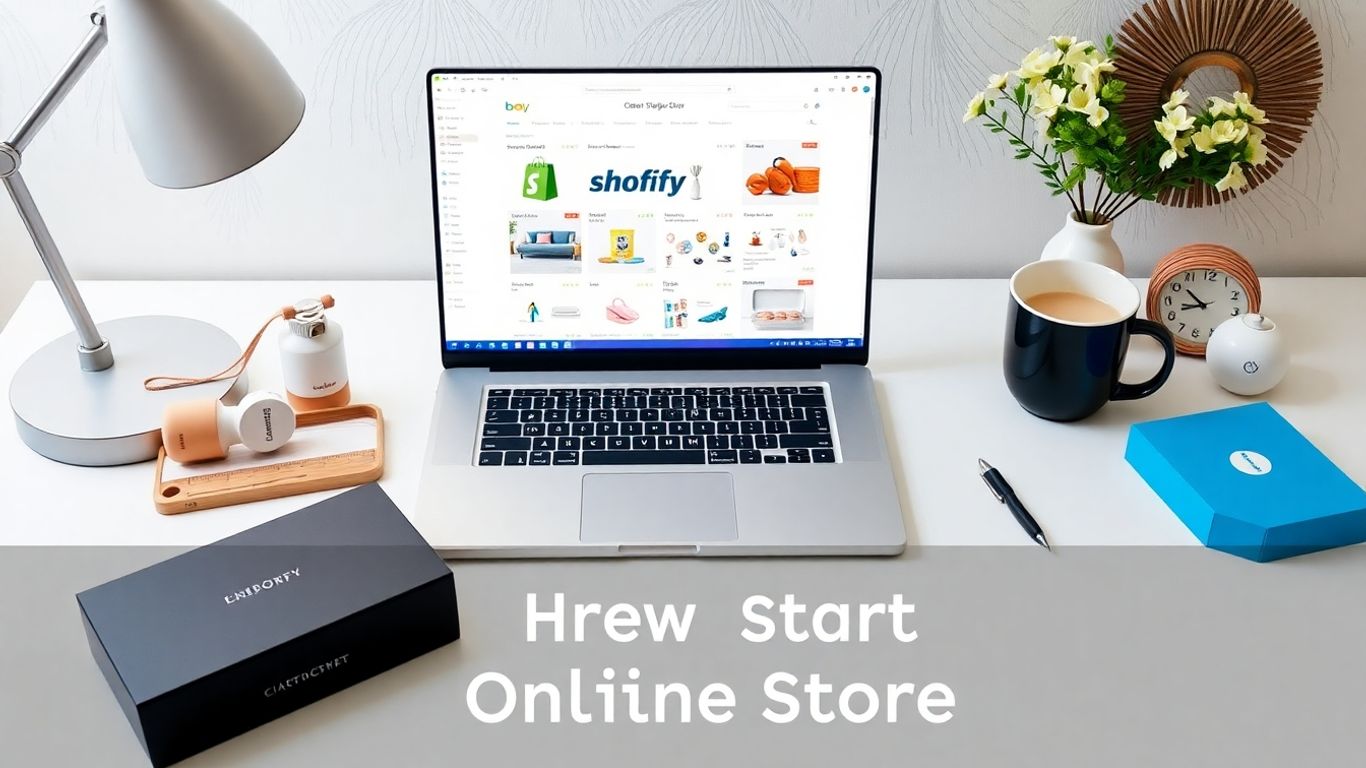
Setting up a one product Shopify store is one of the easiest ways to start selling online, even if you’re brand new to ecommerce. I recently tried it out myself, following step-by-step instructions and a free theme. Here’s how you can do the same in less than an hour.
Key Takeaways
- You only need three things before you start: a product, a logo, and some images.
- Use Shopify’s free themes to keep costs down.
- Adding product reviews and giveaways can boost your sales.
- Most design work can be handled with free or cheap tools.
Getting Started: Your First Steps
First things first: sign up for Shopify. They offer a free trial that turns into just a dollar a month for the first few months. After you’ve registered and named your store, you’ll land on the dashboard—this is command central.
Before you do much else, jot down these must-haves:
- A Product: Whether it’s something you make yourself or a dropshipping item, just pick one.
- Logo: Keep it simple. Use Canva (it’s free) or hire someone on Fiverr for a quick turnaround.
- Images: Pull images from your supplier or use sites like Pixabay for stock photos.
Once you’ve got these ready, you’re all set to get building.
Setting Up the Basics: Plans, Payments & Theme
You’ll need to activate a Shopify plan to install apps, even during your free trial. Choose the Basic plan —it’s the right fit for most new sellers.
Next, pick a theme. Shopify’s free themes, like “Refresh” or “Dawn,” are great and super flexible. Just pick one, hit the “publish” button, and your store will get a new look.
Add key pages:
- About page: Share a bit about you and your product.
- Contact page: Shopify includes one by default.
- Policies: Add your privacy policy and terms of service—this helps build trust.
Adding Your Product
Now, add your product via the ‘Products’ tab.
- Give it a title and use Shopify’s auto-write or a bit of copy from your supplier for the description.
- Upload your product photos—feel free to tweak them in Canva if needed (like covering up supplier logos).
- Set the price, weight, and other details.
- Click save. That’s it for products.
Designing Your Store: Make It Yours
Customize your shop’s look in the ‘Customize’ menu:
- Logo: Upload your own at the top.
- Colors: Stick to a palette that matches your product or logo. Usually two main colors are enough.
- Banner: Use a clear, inviting image and a benefit-driven headline (like: “Free Shipping on All Orders”).
- Featured Sections: Use product images and text to break down what’s inside the product (perfect for bundles).
- Benefits: Add simple icons (“All Natural Ingredients,” “Fast Shipping,” etc.) in a grid to highlight what makes your product good.
- Footer: Add links, a mini about section, and even your logo again for a professional touch.
Check both desktop and mobile modes to make sure everything looks clean.
Add Reviews for Social Proof
People are way more likely to buy if they see real reviews. Shopify works with review apps (like Loox) that you can install in minutes. These apps even let you import existing reviews from places like AliExpress if you’re dropshipping.
Quick steps:
- Install the Loox app.
- Drag the import button to your browser bar.
- Find your product on AliExpress, click the import button, and follow the prompts. Pick the best, most recent reviews.
These show right on your product page, helping build trust right away.
Boost Sales With Promotions
Want to push sales even higher? Add a giveaway app (like Pineraffle). You set up a raffle where every customer gets a chance to win a free product with their order. It’s quick to set up and makes people more likely to buy.
Don’t Forget: Finishing Touches
A few last things before you launch:
- Set up payments (use Shopify Payments + PayPal for simplicity).
- Confirm shipping rates—even if dropshipping, ensure prices match expectations.
- Buy a custom domain (avoid the “myshopify” default for a more professional look).
Here’s a summary of the process in a handy table:
| Step | Task | Tools/Places |
|---|---|---|
| Shopify Setup | Sign up, pick plan, add payment method | Shopify |
| Product Ready | Pick product, gather images and info | Your supplier |
| Logo & Images | Design logo, get extra site images | Canva, Pixabay |
| Theme & Pages | Pick theme, make pages | Shopify |
| Add Product | List product, add details and images | Shopify |
| Design Store | Set colors, upload logo, arrange sections | Theme settings |
| Add Reviews | Import and display reviews | Loox app |
| Promotion | Launch giveaway or incentive | Pineraffle app |
| Payment & Shipping | Set up payment and shipping | Shopify |
| Go Live! | Get a custom domain, check everything | Shopify |
Wrapping Up: Ready to Sell
That’s it. Creating a one product Shopify store is way easier than it looks. With just a product, some images, a logo, and a few hours, you can have a clean, professional-looking shop. Don’t overthink it; just launch, see what happens, and tweak things as you go. Any questions? Drop them below, and I’ll try to help out with what I’ve learned!