Thinking about moving your online store from one WooCommerce setup to another? Maybe your current site is feeling a bit clunky, or you’re hitting limits on what you can do. It’s a common situation. You want to get your products, customer info, and all that important stuff moved over without causing a headache for you or your customers. This guide is here to break down how to migrate WooCommerce to WooCommerce, step by step, so you can get your store running smoothly on its new home.
Key Takeaways
- Before you start moving anything, get your new WooCommerce environment set up and ready to go. This means installing WordPress and WooCommerce, picking a theme, and sorting out basic settings.
- Moving your products, customer accounts, and order history is the main event. Make sure you have a plan to transfer all this data accurately, keeping product details and customer information intact.
- Don’t forget about your SEO! Preserve your page titles, descriptions, and especially your URLs by setting up 301 redirects. This helps search engines and visitors find you easily.
- Testing is super important. Before you announce your new site, run through the entire customer journey – from adding items to the cart to checking out and logging into accounts. Test on different devices too.
- After the move, update your domain’s DNS settings and keep a close eye on your site for any broken links (404 errors). Inform search engines about the change to maintain your search rankings.
Understanding the Need to Migrate WooCommerce to WooCommerce
So, you’re thinking about moving your online store, but staying within the WooCommerce ecosystem? That’s a smart move for many businesses. Sometimes, the platform you started with just doesn’t keep up as your business grows. Maybe you’re hitting limits on customization, finding that essential features cost a fortune through add-ons, or perhaps your site just feels slow and clunky. These are common pain points that signal it might be time for a change.
Recognizing Pain Points in Your Current E-commerce Platform
It’s easy to get used to the quirks of your current setup, but some issues can really hold you back. Are you constantly battling with a platform that’s hard to update or customize? Do you find yourself paying extra for basic functions like subscriptions or advanced shipping rules? Maybe your site’s speed is suffering, impacting customer experience and search engine rankings. High bounce rates or low conversion numbers could also be red flags that your current platform isn’t meeting your needs.
The Advantages of Embracing WooCommerce
WooCommerce, being a plugin for WordPress, offers a lot of freedom. You get full control over your store’s design, functionality, and data. Plus, its connection to the vast WordPress ecosystem means you have access to thousands of plugins and themes, allowing for deep customization without being locked into a single provider. It’s also built with SEO in mind, making it easier to get your products seen by more people.
When Is the Right Time for a WooCommerce Migration?
There’s no single answer, but a few signs point towards migration. If your business has outgrown the capabilities of your current platform and you’re spending too much time and money trying to make it work, it’s a good indicator. When you need more flexibility to add unique features or improve site performance, and your current system makes that difficult or expensive, that’s another strong signal. Migrating to a new WooCommerce setup can be the solution to unlock better performance, more control, and room for future growth.
Here are some common triggers:
- Your current platform has rigid design limitations.
- You’re paying high monthly fees for basic features.
- Site speed and mobile performance are lagging.
- You need more advanced features that are costly to implement elsewhere.
- You want greater ownership and control over your store’s data and functionality.
Preparing for Your WooCommerce to WooCommerce Migration
Alright, so you’ve decided to move your online store, maybe to a fresh installation or a completely new hosting setup. That’s a big step, and honestly, it can feel a bit daunting. But don’t worry, with a little planning, we can make this transition much smoother. Think of it like packing for a big trip – you wouldn’t just throw things in a suitcase, right? You’d make a list, get the right boxes, and figure out what’s coming with you.
Essential Pre-Migration Checklist
Before you even think about moving data, let’s get our ducks in a row. This is all about making sure your old site is ready to hand over its digital goods and that you have a solid backup. It’s your safety net, really.
- Full Site Backup: Seriously, do this first. Use a reliable plugin or your hosting provider’s tools to create a complete backup of your current WooCommerce site. This includes all files and the database. It’s your get-out-of-jail-free card if anything goes sideways.
- Maintenance Mode: Put your current site into maintenance mode. This stops new orders and prevents visitors from seeing any errors while you’re working. Plugins like SeedProd can help you set up a nice "Under Construction" page.
- Disable Interference Plugins: Temporarily turn off caching, security, or redirect plugins on your old site. These can sometimes mess with the migration process. You can turn them back on later on the new site.
- Check Server Specs: Make sure the PHP version and other server settings on your new hosting environment are compatible with WooCommerce. Ideally, they should be similar to your current setup.
- Schedule Wisely: Pick a time for the actual data move when your store has the least traffic. Late nights or weekends are usually best. This minimizes disruption for your customers.
This preparation phase is where you build the foundation for a successful move. Skipping these steps is like trying to build a house without checking the ground – it’s just asking for trouble down the line.
Setting Up Your New WooCommerce Environment
Now, let’s get your new digital home ready. This means installing WordPress and WooCommerce itself, and getting the basic settings in place. You want your new store to be a welcoming place for your products and customers.
- Install WordPress: If you haven’t already, install a fresh copy of WordPress on your new hosting. Many hosts offer one-click installs.
- Install WooCommerce: Go to your WordPress dashboard, navigate to Plugins > Add New, search for "WooCommerce," and install and activate it. Follow the setup wizard.
- Basic Configuration: Run through the WooCommerce setup wizard. This is where you’ll set your store’s location, currency, shipping zones, and tax options. Don’t stress too much about getting everything perfect here; you can tweak it later.
- Theme Choice: Select a theme that’s compatible with WooCommerce. The Storefront theme is a good, simple option that works well out of the box, but you can use any theme you prefer.
Choosing the Right Migration Tools
Moving all your products, customer data, and order history can be a headache. Thankfully, there are tools that can help automate this. The choice of tool often depends on the size of your store and how much data you have.
- Migration Plugins: Plugins like Duplicator Pro or WP Migrate DB Pro can create a full site backup and move it to a new location. They’re great for moving the entire site, files and database included.
- Dedicated Migration Services: Services like LitExtension specialize in migrating data between e-commerce platforms. They often have specific tools for WooCommerce and can handle complex data relationships, like product variations and customer histories.
- CSV/XML Import/Export: For products specifically, WooCommerce has built-in tools to export and import products using CSV files. This is useful if you only need to move product data or if you’re doing a very manual migration.
When picking a tool, think about what you need to move. Do you need to keep customer passwords? Are your SEO URLs important? Some tools offer "additional options" for things like migrating customer passwords or preserving SEO URLs, which can be a lifesaver. It’s worth looking into what each tool offers before you commit.
Executing the WooCommerce Data Migration
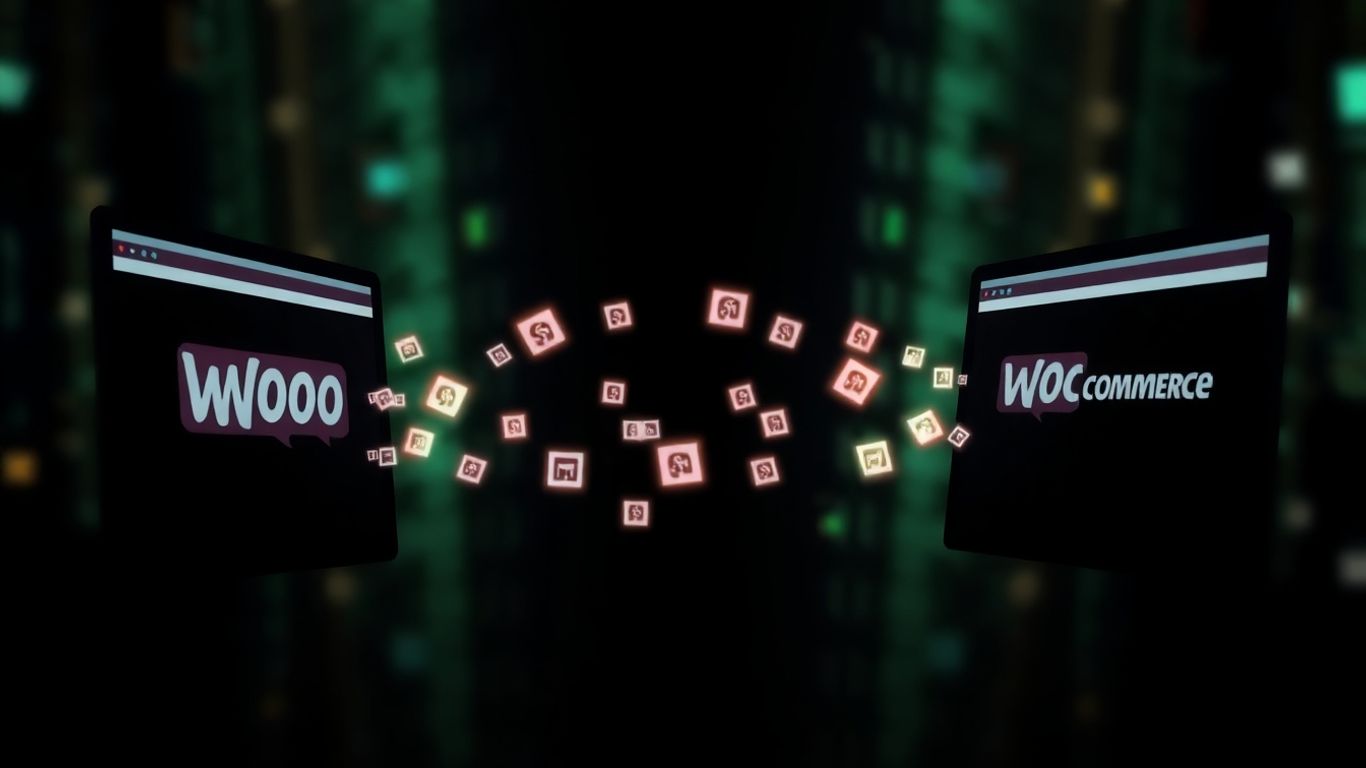
Alright, so you’ve got your new WooCommerce setup ready to go, and now it’s time for the main event: moving all your stuff over. This is where the magic happens, or at least, where you hope it does without too many hiccups. We’re talking about getting your products, customer info, and all those past orders from your old place to your shiny new WooCommerce store.
Migrating Products and Their Attributes
This is probably the biggest chunk of data you’ll be moving. You’ve got products with all sorts of details – names, descriptions, prices, SKUs, stock levels, and those all-important attributes like size, color, or material. Most migration tools will let you map these fields over. You’ll want to make sure that things like product variations (think a t-shirt in different sizes and colors) are handled correctly. Some tools can even create these variations automatically based on the combinations you have.
It’s a good idea to have a look at how your product data is structured in your old system. If you’re using CSV files, make sure they’re clean and formatted properly before you start. A messy product list can lead to a messy import.
Transferring Customer Accounts and Order History
Your customers are the lifeblood of your business, so getting their accounts moved over is pretty important. This includes their names, contact info, and addresses. A big plus here is if your migration tool can also transfer customer passwords. This means your customers can log in to your new store using their old credentials, which is a huge win for user experience. If passwords can’t be moved, you’ll need to let your customers know they’ll have to reset them.
Order history is also key. It gives you a record of past sales and helps customers track their purchases. Making sure this data comes across accurately means you don’t lose that valuable history. You’ll also want to check that order statuses (like ‘processing’ or ‘completed’) are mapped correctly to WooCommerce’s own statuses.
Handling Media Files and Downloads
Don’t forget about all those images! Product photos, category banners, logos – they all need to make the journey. Most migration services will handle moving these files, but it’s worth double-checking the limits. Some might have restrictions on the number of images or the total file size. If you sell digital products, you’ll also need to ensure that the download links and files are transferred securely and correctly.
Moving media can sometimes be the slowest part of the migration process, especially if you have a lot of high-resolution images or large video files. Be patient and give it the time it needs.
Here’s a quick look at what you’re typically moving:
- Products: Names, descriptions, prices, SKUs, stock, categories, tags.
- Customers: Names, emails, addresses, login details (if possible).
- Orders: Order numbers, dates, items purchased, customer details, order status.
- Media: Product images, gallery images, banners, logos, digital download files.
Preserving SEO and User Experience During Migration
Moving your online store is a big deal, and you don’t want to mess up your search engine rankings or make things harder for your customers. Keeping your SEO intact and your users happy is just as important as moving the actual products. If people can’t find you on Google anymore, or if your site becomes clunky and difficult to use, that’s a problem. We need to make sure everything looks and works the same, or even better, after the move.
Migrating SEO Metadata and Maintaining URLs
Your product titles, descriptions, and those all-important URLs are what search engines use to find you. When you move, you can’t just let them disappear. Think of it like moving house – you wouldn’t just leave your address book behind, right? You need to bring all that contact information with you. The same applies to your website’s SEO data. Plugins like Yoast SEO or Rank Math can help you export and import this information. It’s also really important to keep your URLs the same if possible. If a URL has to change, we’ll deal with that in the next step, but the goal is to keep things consistent for both search engines and your visitors.
Implementing 301 Redirects for Seamless Transitions
Sometimes, URLs just have to change. Maybe your old platform used a different structure, or you’re cleaning things up. When this happens, a 301 redirect is your best friend. It’s like putting up a sign that says, "Hey, this page moved permanently over here." This tells search engines and browsers that the old address is no longer valid but points them to the new one. Without these redirects, visitors (and search engines) will hit a dead end, a 404 error page, which is bad for everyone. You can manage these redirects using plugins. It’s a good idea to make a list of all the old URLs and their new counterparts before you start the migration. This way, you can set up all the redirects in one go.
Here’s a quick look at how redirects work:
- Old URL:
yourstore.com/old-product-page - New URL:
yourstore.com/products/new-product-page - Action: Set up a 301 redirect from the old URL to the new URL.
Ensuring Content Structure and Topical Relevance
Beyond just the product pages, think about how your content is organized. Search engines look at the overall structure of your site to understand what it’s about. If you have blog posts related to your products, or categories that group items logically, try to keep that same organization. This helps search engines understand the topical relevance of your site. If you move from a platform where products were listed under /shop/category/product to something like /product-category/product, you need to make sure those connections are maintained through redirects and that the new structure makes sense. It’s about making it easy for both users and search engines to find what they’re looking for and understand the relationships between different pieces of content on your site.
Thorough Testing Before Going Live
Alright, so you’ve moved all your products, customer info, and settings over. That’s a huge win! But hold on, we’re not quite done yet. Before you shout "We’re live!" to the world, there’s a really important step: testing. Think of it like test-driving a car before you buy it, or, you know, making sure your bike brakes actually work before you go downhill. You don’t want any surprises once real customers start showing up.
Testing the Checkout Process and Payment Gateways
This is probably the most critical part. If people can’t buy things, what’s the point, right? You need to go through the entire buying process yourself, multiple times. Try adding items to the cart, go to checkout, and actually try to place an order. Use different payment methods you have set up – like Stripe, PayPal, or whatever you use. Make sure the transactions go through without a hitch and that the order confirmation appears correctly. It’s also a good idea to have a friend or colleague try it too, just to get a second pair of eyes on it.
Verifying Coupons, Discounts, and Product Filters
Customers love a good deal, so make sure your coupon codes are working as expected. Apply a few different ones during checkout to see if the discounts are calculated correctly. Also, check your product filters. If you have filters for size, color, price range, or anything else, test them out thoroughly. Do they show the right products when selected? Does the search function work well? You want customers to be able to find what they’re looking for easily.
Checking Account Logins and Mobile Responsiveness
People need to be able to log into their accounts, right? Test the login process for existing customers. Can they reset their password if they forget it? What about new customer registrations? Make sure that’s smooth sailing too. And don’t forget about mobile! Most people shop on their phones these days. So, pull up your site on your phone and maybe a tablet. Does everything look good? Is it easy to tap buttons? Can you navigate menus without issues? It needs to work well on smaller screens just as much as on a desktop.
You might think you’ve checked everything, but sometimes, little glitches only show up when a real person is using the site. It’s better to find these issues now, when it’s just you and your team, rather than having customers complain later. A smooth experience from start to finish is what keeps people coming back.
Here’s a quick checklist to keep handy:
- Place test orders with each payment method.
- Apply various coupon codes to confirm discount accuracy.
- Test all product filters and the site’s search functionality.
- Verify customer login, registration, and password reset processes.
- Check the site’s appearance and usability on different mobile devices and screen sizes.
- Confirm that order confirmation emails are sent and received correctly.
Post-Migration Steps for a Successful Launch
Alright, so you’ve moved your WooCommerce store. That’s a big deal! But we’re not quite done yet. Think of it like moving into a new house – you’ve got the boxes unpacked, but there are still a few things to sort out before it feels like home. The final steps are all about making sure everything runs smoothly for your customers and search engines.
Updating DNS Nameservers and Finalizing Domain Settings
This is where you tell the internet that your store now lives at its new address. You’ll need to update your domain’s DNS (Domain Name System) records to point to your new hosting provider. This process can take anywhere from a few minutes to 48 hours to fully propagate across the web. During this time, some visitors might still see the old site while others see the new one. It’s a bit like having two different addresses for a short while.
Monitoring for 404 Errors and Creating Additional Redirects
Even with the best planning, broken links can happen. After the DNS changes have settled, it’s super important to keep an eye out for any "404 Not Found" errors. These pop up when a visitor tries to access a page that no longer exists at the URL they typed in or clicked on. You can use tools like Google Search Console or specific WordPress plugins to track these errors. For every 404 you find, you’ll want to create a 301 redirect from the old, broken URL to the correct, new one. This helps users find what they’re looking for and tells search engines that the page has moved permanently. It’s a good idea to check this regularly for the first month or so. You can find some helpful migration tools to assist with this process here.
Informing Search Engines About Your Site Migration
Search engines like Google need to know your site has moved. If you haven’t already, submit your new sitemap to Google Search Console and Bing Webmaster Tools. This helps them crawl and index your new site more efficiently. Also, if you changed your domain name, make sure to use the "Change of Address" tool in Google Search Console. This is a critical step for maintaining your search engine rankings and ensuring your customers can still find you through search results.
It’s wise to keep your old site accessible for a short period after the migration, perhaps on a temporary subdomain or just by keeping the hosting active. This acts as a safety net, allowing you to quickly create redirects for any missed links or to revert if a major issue arises. Don’t rush to shut down the old hosting immediately.
Ready to Take Control?
So, you’ve made it through the guide. Migrating your online store to WooCommerce might seem like a big task, but as we’ve shown, it’s totally doable. You’ve learned how to move your products, customer data, and keep your search rankings intact. Now, it’s time to put that knowledge to work. Don’t let your current platform hold your business back any longer. Taking the step to a more flexible and powerful system like WooCommerce is a smart move for growth. Go ahead, get started, and build the online store you’ve always wanted.
Frequently Asked Questions
Why would I want to move my online store to WooCommerce?
You might want to switch to WooCommerce if your current online store is hard to change, costs too much for basic features, or isn’t working very well (like being slow or confusing for shoppers). WooCommerce gives you more freedom to make your store look and work exactly how you want it to.
What’s the easiest way to move my store to WooCommerce?
The simplest method is often using a special tool, like Duplicator Pro. These tools help you create a copy of your whole store and then easily put it onto your new WooCommerce site without much hassle or taking your store offline.
How do I move my products over?
You can move products in a few ways. One common method is to export your products as a list (like a CSV file) from your old store and then import them into WooCommerce. Some tools can also move them for you automatically when you move your whole site.
Will moving my store hurt my search engine rankings?
It doesn’t have to! To keep your spot on Google, you need to make sure your website addresses (URLs) stay the same or that you tell browsers where the old addresses now lead using something called 301 redirects. It’s also good to check that your site’s content is still relevant.
What should I check before I officially launch my new WooCommerce store?
Before you tell everyone your new store is open, you must test everything! Make sure people can buy things, use coupon codes, find products easily, log into their accounts, and that the store looks good and works well on phones.
What do I do after my store is moved to WooCommerce?
After moving, you need to update your website’s address settings (DNS) so people can find your new store. Keep an eye out for any broken links (404 errors) and fix them. It’s also a good idea to let search engines like Google know your site has moved.