Ever wondered how those cool clothes you see in stores actually get made? It’s a whole process, from just an idea in someone’s head to a finished piece you can wear. If you’ve got your own clothing designs in mind and want to see them become a reality, this guide breaks down how to get clothing designs made. We’ll walk through the steps, from dreaming it up to holding the final product.
Key Takeaways
- Start by figuring out what people need or want that isn’t easily available, then brainstorm unique ideas to fill those gaps.
- Turn your ideas into clear drawings and detailed instructions (tech packs) so manufacturers know exactly what to make.
- Pick the right fabrics and materials, and create a first sample to check the fit and look before making more.
- Work closely with manufacturers, setting clear goals and understanding their process from start to finish.
- Check the quality of the clothes carefully and plan for getting them to customers on time.
Conceptualizing Your Clothing Line
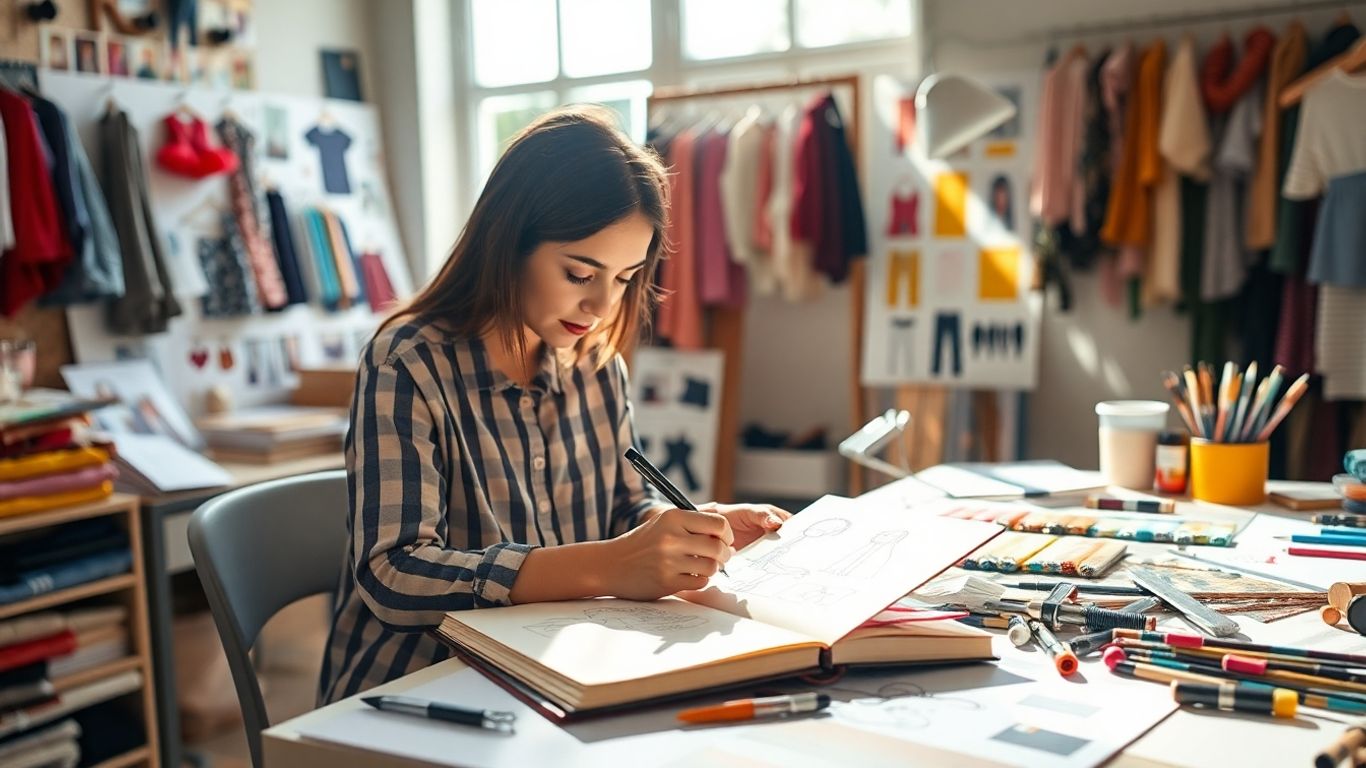
Starting a clothing line feels exciting, right? But before you get to the fun part of picking fabrics or seeing your designs come to life, there’s some groundwork to do. This initial phase is all about figuring out what you want to make and why. It’s where you lay the foundation for everything that follows.
Identifying Market Gaps and Needs
So, what’s missing out there? Think about your own closet. Are there clothes you wish existed? Maybe something for a specific activity that just isn’t quite right, or a style that’s hard to find. It’s not just about what you want, though. Pay attention to what friends, family, or even strangers online are talking about. Are people complaining about a certain fit, a lack of pockets, or a fabric that doesn’t hold up? These little comments are gold. They point to real needs that aren’t being met. You’re looking for those unmet needs, those little annoyances that your brand could solve. This is a great place to start learning about launching a clothing brand.
Brainstorming Innovative Design Ideas
Once you’ve spotted a gap, it’s time to get creative. How can you fill that need? Think beyond just a new color. Consider:
- Fit: Can you make something that fits better than what’s already available?
- Construction: Is there a unique way to build the garment that makes it more functional or durable?
- Features: What extra details could you add? Think pockets, adjustable straps, or special closures.
- Fabric: Could a different material make the garment more comfortable, breathable, or long-lasting?
- Aesthetics: How can you make it look good, too? Sometimes the simplest designs are the most appealing.
Don’t be afraid to think outside the box. What would make this garment truly special?
The goal here isn’t just to make clothes, but to solve a problem or fulfill a desire for a specific group of people. It’s about creating something that people will actually want and need.
Validating Your Unique Concept
Before you get too far, you need to check if your brilliant idea is actually a good idea. Does anyone else think so? Do a little digging. See if similar products already exist. If they do, how is yours different or better? What makes it stand out? You also need to consider if people would actually buy it. Would they switch from what they’re currently using to your product? Think about why they might. Is it the price, a cool new feature, or just a better look? Getting some honest feedback at this stage can save you a lot of time and money later on. You can even start by sketching out your ideas to get a clearer picture. See design sketches.
Bringing Designs to Life with Sketches and Tech Packs
Okay, so you’ve got some cool ideas swirling around for your clothing line. That’s awesome! But how do you actually get those ideas from your head onto paper and then into something a factory can make? This is where sketches and tech packs come in. They’re like the blueprints for your clothes.
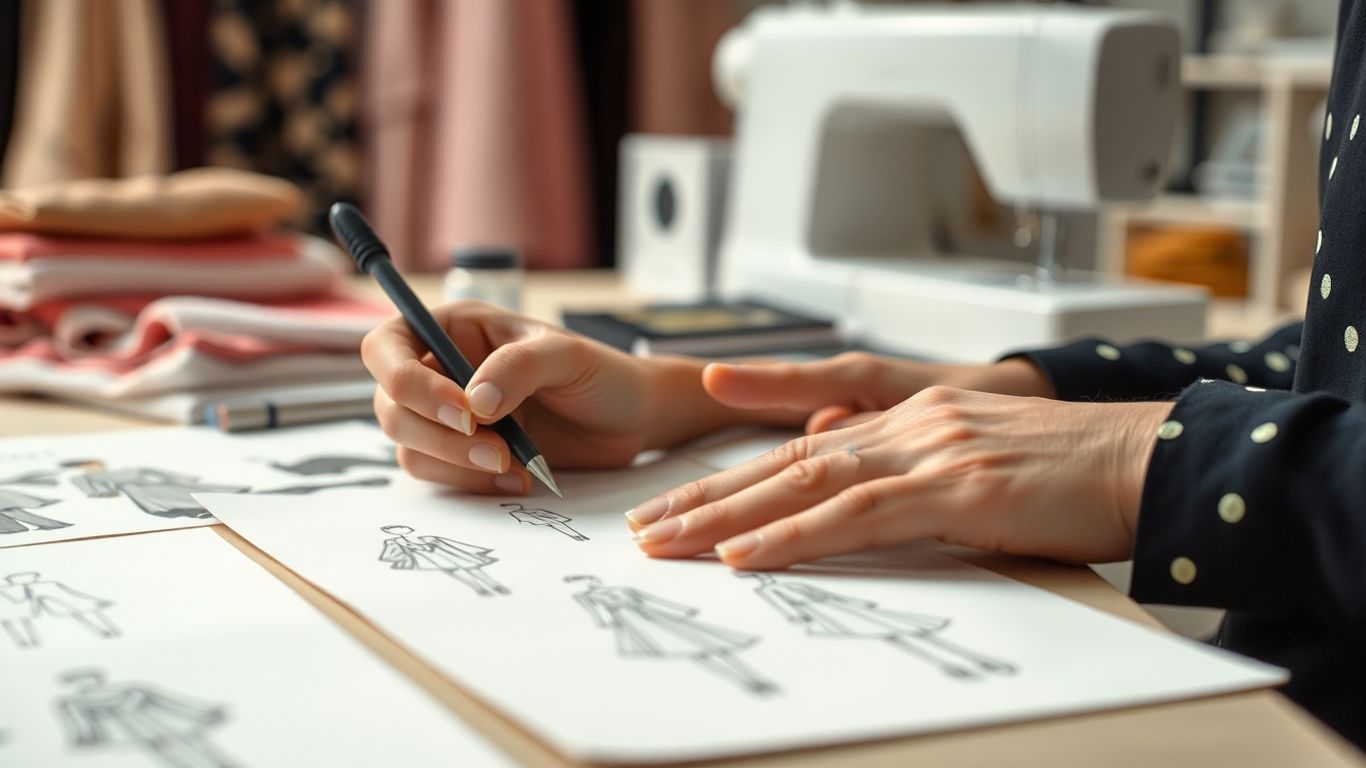
Creating Fashion Croquis and Design Sketches
First things first, you need to visualize your designs. This usually starts with a fashion croquis, which is basically a quick sketch of a stylized human figure. Think of it as a template. You can draw over it or use it as a guide to sketch out your clothing ideas. Don’t stress about making these perfect; the goal here is to get the overall shape and feel of the garment down. You’re focusing on the silhouette, the main lines, and where things like pockets or collars might go. It’s about capturing the essence of your design.
- Start with the figure: Draw or find a basic croquis template.
- Sketch the garment: Drape your clothing design onto the figure.
- Add key details: Mark out major design elements like necklines, sleeves, and hemlines.
- Refine: Once you have the basic shape, you can start adding more detail, like stitching lines or fabric folds.
Developing Detailed Tech Packs for Manufacturers
This is where things get serious. A tech pack, sometimes called a spec sheet, is a super detailed document that tells a manufacturer exactly how to make your garment. It’s the most important communication tool between you and the factory. Without a clear tech pack, you’re likely to get something that isn’t quite what you envisioned. It includes:
- Flat Sketches: These are technical drawings of the front, back, and sometimes side of the garment, shown as if laid flat. They show all the construction details.
- Measurements: Precise measurements for every part of the garment, often including a size breakdown for different sizes (grading).
- Materials List: Details about the main fabric, lining, and all the trims – things like buttons, zippers, labels, thread, and elastic.
- Colorways: If your design comes in multiple colors, you’ll specify them here.
- Construction Details: Notes on how seams should be sewn, where labels should be placed, and any special finishing.
Here’s a peek at what might go into a basic tech pack section:
| Feature | Description |
|---|---|
| Garment Type | Women’s Button-Up Blouse |
| Fabric | 100% Cotton Poplin |
| Trim | 4-hole plastic buttons, 15mm diameter (white) |
| Neckline | Classic collar, button-down |
| Sleeve | Long sleeve with buttoned cuff |
| Hem | Straight, finished with a 1cm double-fold hem |
A well-made tech pack prevents misunderstandings and costly mistakes down the line. It’s worth the time and effort to get it right.
Utilizing CAD for Design Refinement
Computer-Aided Design (CAD) software can be a game-changer for fashion design. Instead of just hand-sketching, you can use CAD programs to create digital versions of your designs. This makes it much easier to:
- Visualize different color options quickly.
- Create precise flat sketches that can be directly used in your tech packs.
- Make edits and adjustments without having to redraw everything from scratch.
- Develop patterns digitally, which can save time and improve accuracy.
While you don’t need to be a CAD expert, understanding its capabilities can really speed up your design process and help you present your ideas more professionally.
Selecting Materials and Creating Prototypes
Okay, so you’ve got your designs all sketched out and maybe even a tech pack ready to go. That’s awesome! But before you can think about mass production, you need to actually make a physical version of your design. This is where picking the right stuff and building a prototype comes in. It’s a super important step, and honestly, it can be a bit of a puzzle.
Choosing the Right Fabrics and Trims
This is where your design really starts to take shape. The fabric you pick isn’t just about color or pattern; it’s about how the garment will feel, how it will hang on the body, and how durable it will be. Think about the drape – does it fall softly or hold a stiff shape? What about the texture? Is it smooth, rough, or something in between? And don’t forget weight; a heavy denim is totally different from a light chiffon.
It’s a good idea to visit fabric stores and just touch everything. Seriously, feeling the materials is the best way to understand their properties. You might find yourself drawn to organic cotton or recycled materials, which is great for sustainability. Beyond the main fabric, you’ve got trims. These are all the little bits and pieces: buttons, zippers, labels, thread, elastic, even the lining. Each one needs to be chosen carefully to match your design and quality goals.
Here’s a quick look at some common fabric types:
- Cotton: Versatile, breathable, and comes in many weaves like denim, twill, and poplin.
- Viscose/Rayon: Known for its soft feel and good drape, often used for flowy garments.
- Linen: Breathable and strong, great for warmer weather, but can wrinkle easily.
- Polyester: Durable, wrinkle-resistant, and often blended with other fibers.
Understanding Pattern Making Essentials
Once you’ve got your fabric and trims sorted, you need a pattern. Think of a pattern as the blueprint for your garment. It’s a set of templates that you’ll use to cut out the fabric pieces. Getting the pattern right is key to making sure your garment fits well and looks like your design. If you’re just starting, you can buy basic patterns or find free ones online to get a feel for it. There are tons of books and online tutorials that can help you learn how to make your own, which is a really useful skill to develop.
Pattern making is the bridge between your 2D design and the 3D garment. Precision here means fewer headaches later on.
Assembling Your First Garment Sample
Now for the exciting part: putting it all together! This is where you create your first physical sample, often called a proto-sample. If you’re sewing it yourself, you’ll carefully cut your fabric pieces according to the pattern, remembering to add seam allowance. Then, you’ll start sewing. If you’re new to sewing, start with the basics – how to use a machine, sew straight lines, and finish seams. There are plenty of resources out there to help you build these skills. As you sew, you’ll add in those trims you picked out earlier. This first sample is all about seeing how the design works in reality. It’s not expected to be perfect, but it’s your chance to see what needs tweaking before you move on to more refined samples or production. This initial physical version is a crucial test model for your design concept.
Remember, this sample is your first real look at the garment. It’s okay if it’s not perfect. The goal is to learn from it and make improvements for the next stage.
Collaborating with Clothing Manufacturers
So, you’ve got your designs all figured out, sketched out, and maybe even a fancy tech pack ready to go. That’s awesome! But now comes the part where your ideas actually start to take shape in fabric and thread. This is where working with a clothing manufacturer comes in, and honestly, it can feel a bit like a whole new world. Getting this partnership right is super important for your brand’s success. It’s not just about handing over a drawing; it’s about clear communication and shared goals.
Establishing Clear Expectations for Production
Before you even think about sending off your designs, you need to be on the same page with your manufacturer. What exactly are you looking for? What’s their process? What are their capabilities? Think of it like this: you wouldn’t start building a house without a solid blueprint and agreement with your contractor, right? The same applies here. You need to discuss things like:
- Quality Standards: What level of quality are you aiming for? Are there specific certifications or standards they need to meet?
- Materials: What fabrics, threads, buttons, and zippers are acceptable? Do they have experience sourcing these specific items?
- Timelines: What are their typical turnaround times for samples and bulk production? Be realistic about your own deadlines too.
- Communication: How will you communicate? Who is your main point of contact? How often will you receive updates?
Building a strong relationship with your manufacturer means being upfront about your vision and understanding their operational realities. It’s a two-way street, and open dialogue from the start prevents a lot of headaches down the line.
The Pre-Production Planning Phase
This is a really critical stage, often overlooked by new designers. Pre-production is all about ironing out the details before you commit to a large run of garments. It typically involves:
- Material Sourcing: Confirming all fabrics, trims, and labels are available and meet your specifications. This is where you might need to do some fabric sourcing if your manufacturer doesn’t have exactly what you need.
- Pattern Making and Grading: Creating the initial patterns based on your tech pack and then grading them for all the different sizes you plan to offer.
- Sample Making: This is where you get your first physical look at the garment. You’ll likely go through a few rounds of samples (prototypes) to get everything just right – fit, construction, details, everything.
- Costing: Finalizing the cost per unit based on materials, labor, and complexity.
This phase is where you catch potential issues. If the fit isn’t right on the sample, you fix it now. If a fabric isn’t behaving as expected, you find an alternative. It’s much cheaper and easier to make changes at this stage than when you have thousands of units being produced.
Understanding the Manufacturing Process
Once pre-production is wrapped up and you’ve approved the final sample, the actual manufacturing begins. This involves several steps:
- Cutting: The fabric is cut according to the approved patterns. Many modern factories use advanced technology for precision and to minimize waste.
- Sewing: This is where the garment pieces are assembled. Different machines and techniques are used depending on the type of garment.
- Finishing: This includes adding labels, buttons, zippers, pressing, and any final touches.
- Quality Control: Throughout the process, but especially at the end, garments are inspected to ensure they meet the agreed-upon standards. This is super important for maintaining your brand’s reputation.
After the bulk production is complete, the garments will be packaged and prepared for shipping. It’s a complex operation, but with good planning and communication, you can get your designs made efficiently and to a high standard.
Ensuring Quality and Delivery
So, you’ve got your designs, your prototypes look great, and you’re ready to get them made. That’s awesome! But before you get too excited, we need to talk about making sure what you get back is actually what you wanted, and that it gets to you when it’s supposed to. This part is super important, and honestly, it can make or break your brand.
Implementing Rigorous Quality Control
Quality control is basically your last line of defense against getting a shipment of clothes that just aren’t right. It’s not just about spotting a loose thread, though that’s part of it. We’re talking about making sure the fabric is what you paid for, the stitching is strong, and everything measures up. Think about checking the fabric’s weight (GSM) to make sure it’s not too thin, and counting the stitches per inch (SPI) to see if it’ll hold up after a few washes. You also want to test buttons, zippers, and any other bits and bobs to make sure they work and are attached properly. A good quality control process prevents costly returns and keeps your customers happy. It’s also a good idea to have your manufacturer follow specific quality standards, like AQL levels, which are basically agreed-upon acceptable defect rates. You can find more details on what goes into a thorough quality control checklist to make sure nothing slips through the cracks.
Navigating Production Planning and Timelines
Getting your clothes made isn’t just about the factory having the machines; it’s about them having a plan. You need to talk with your manufacturer about realistic production timelines. Ask them how long it takes for bulk production, especially if you have a big order or complex designs. They should be able to give you an estimate, usually a range like 2-4 weeks, depending on the quantity and style. It’s also about understanding the different stages, from cutting the fabric to sewing and finishing. Sometimes, things get delayed – maybe there’s a fabric shortage or a machine breaks down. Having a clear production schedule and staying in touch with your manufacturer helps you anticipate potential issues and adjust your own plans accordingly. It’s all about communication and setting expectations upfront.
Exploring Shipping and After-Sale Services
Once the clothes are made and pass inspection, they need to get to you. Manufacturers usually offer different shipping options – like air freight for speed or cargo shipping for cost savings. You can often choose your own shipping agent or use theirs. Make sure you understand the shipping costs and estimated delivery times. Proper packaging is also key here; your clothes should arrive clean, protected, and correctly labeled. Some manufacturers also offer after-sale services, which can be helpful if you have any issues or questions after you receive your order. It’s good to know what support you can expect once the main production is done.
Wrapping It Up
So, you’ve gone from a little idea in your head to a finished piece of clothing. It’s a lot, right? From figuring out what people actually want to wear, to sketching it out, picking the right fabric, and then actually getting it made – it’s quite the trip. Don’t get discouraged if your first try isn’t perfect. Every designer started somewhere, and the key is just to keep going. Learn from each step, refine your process, and keep creating. Who knows, your next design might be the one that really takes off.
Frequently Asked Questions
What’s the very first step in creating a clothing idea?
It all starts with an idea! Think about what clothes people need or want but can’t find. Maybe there’s a gap in the market for comfy sports clothes or stylish work outfits. Listen to what people say they wish they had in their clothing. This helps you figure out what unique designs you can create.
How do I turn my design idea into something a factory can understand?
You’ll need to create something called a ‘tech pack.’ Think of it as a detailed instruction manual for the factory. It includes drawings of your design from all sides, tells them exactly what materials to use (like the fabric, buttons, and zippers), and gives all the measurements. This helps make sure they build exactly what you imagined.
What are ‘croquis’ and ‘CAD’ in fashion design?
A ‘croquis’ is like a basic drawing of a fashion figure, a template you can use to sketch your clothing ideas on. ‘CAD’ stands for Computer-Aided Design. It means using computer software to help you draw your designs, make patterns, and change things easily. It’s faster than drawing by hand and helps avoid mistakes.
Why is choosing the right fabric and other materials so important?
The fabric makes a huge difference in how a piece of clothing looks, feels, and works. A silky fabric will feel very different from a thick wool one! You also need to pick out ‘trims’ – these are things like buttons, zippers, and labels. Getting these right helps your design look and feel professional and match your vision.
What happens after I have a sample of my design?
Once you have a sample, you’ll work closely with the clothing makers. You’ll talk about how many items you want to make, confirm all the details, and make sure the quality is exactly what you expect. This is also when they plan out the whole production schedule to make sure everything gets done on time.
How do I make sure the clothes made are good quality?
Good manufacturers have a quality control process. They check the clothes during and after they are made to catch any mistakes. You can also set specific quality standards with them beforehand. This ensures that the final clothes you receive are well-made and what your customers will love.