So, you’ve got your WooCommerce store set up, which is great! Now comes the part where you actually get your items listed so people can buy them. It might seem a little tricky at first, but honestly, adding a product in WooCommerce is pretty simple once you know where to click. We’ll walk through it together, step by step, so you can get your products online and ready to sell without too much fuss.
Key Takeaways
- Start by going to your WordPress dashboard and finding the ‘Products’ section, then click ‘Add New’.
- Fill in your product’s title and write a detailed description, including a shorter one for quick views.
- Choose the correct ‘Product Type’ in the ‘Product Data’ section, like Simple, Variable, or Grouped.
- Upload your main product image and create an image gallery to show off your item from different angles.
- Organize your products using categories and tags so customers can easily find what they’re looking for.
Accessing the Product Editor
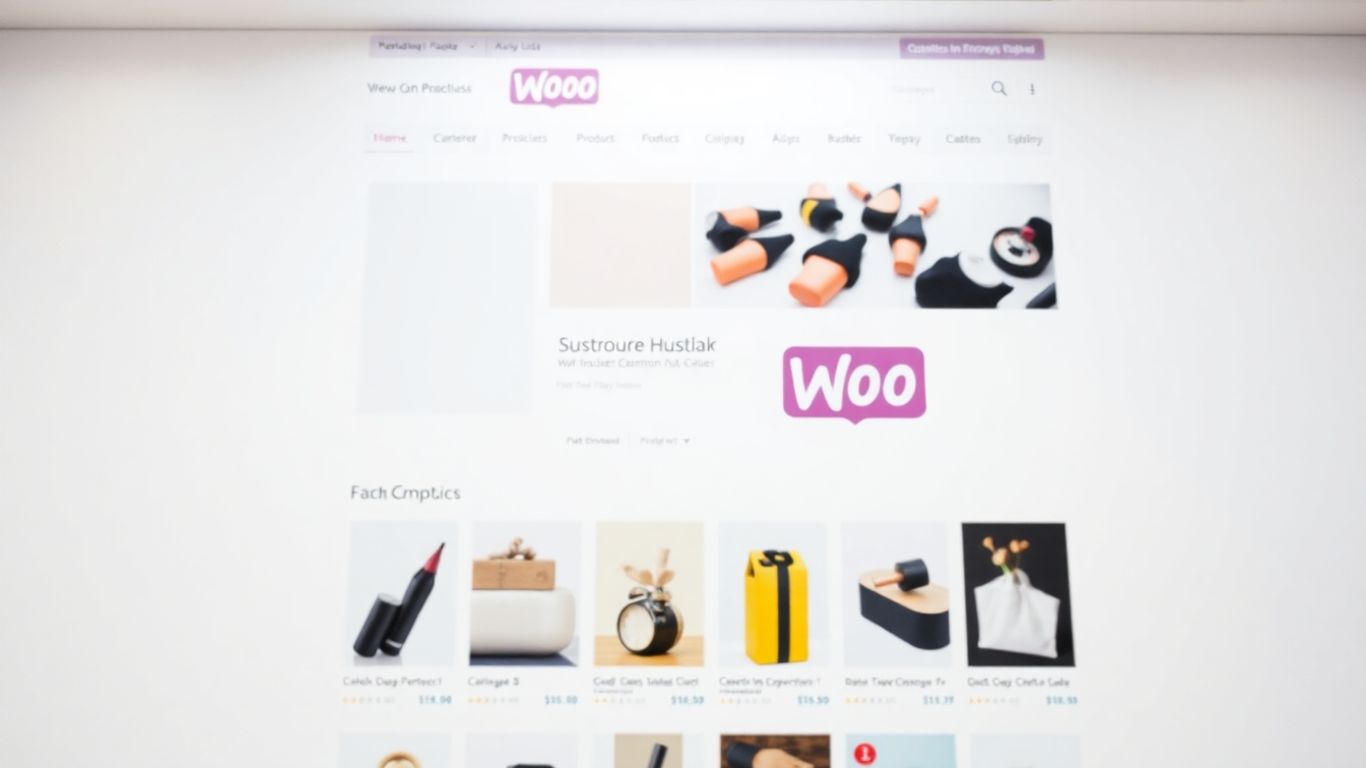
Getting your products into your WooCommerce store starts with knowing where to go. The product editor is your main workspace for adding and managing all your items. It’s where all the magic happens, from setting prices to writing descriptions.
Navigate to the WooCommerce Product Editor
To begin adding a new product, you’ll first need to find the product editor screen. It’s pretty straightforward. From your WordPress dashboard, look for the WooCommerce menu item on the left-hand side. Hover over it, and you’ll see a submenu appear. Click on ‘Products’. This will take you to your main product listing page. From here, you can either click the ‘Add New’ button at the top to create a brand new product, or you can click on the title of an existing product to edit it.
Edit Existing Products
If you need to make changes to a product you’ve already added, the process is just as simple. Go to WooCommerce > Products in your WordPress admin area. You’ll see a list of all your current products. Find the product you want to modify in the list and simply click on its title. This will open up the same product editor screen we use for adding new items, allowing you to update any details, prices, images, or other settings. It’s a good idea to periodically review your product listings to keep them fresh and accurate. For instance, if you’re comparing different e-commerce platforms, understanding how to manage products within WooCommerce is a key step in assessing its suitability for your business WooCommerce flexibility.
Here’s a quick rundown of what you’ll find in the editor:
- Product Name: The main title of your item.
- Product Description: A detailed explanation of what you’re selling.
- Product Data Section: This is where you’ll configure pricing, inventory, shipping, and more.
- Product Categories & Tags: Tools for organizing your catalog.
- Product Images: Space for your main product photo and a gallery.
Think of the product editor as your central hub. Every piece of information a customer sees about your product lives here. Getting comfortable with this screen is the first step to a well-managed online store.
Essential Product Details
Now that you’ve accessed the product editor, it’s time to fill in the core information that will help customers understand and decide on your product. This section is all about making your product clear and appealing.
Add Product Title and Description
Your product’s title and description are the first things a potential buyer will see. Think of the title as the headline – it needs to be clear, concise, and informative. Instead of a generic name like "T-Shirt," try something more specific like "Men’s Cotton Crew Neck T-Shirt – Navy Blue." This helps customers know exactly what they’re looking at and also helps search engines find your product.
The main description box is where you can really sell your product. Don’t just list features; explain the benefits. For example, instead of saying "Made of cotton," you could say "Crafted from soft, breathable cotton for all-day comfort." Use formatting like bullet points to break down key features or specifications, making them easy to scan. This is also where you can naturally weave in keywords that customers might use when searching for your product, like organic cotton t-shirt.
Here’s a quick breakdown of best practices for descriptions:
- Clarity is key: Use straightforward language.
- Highlight benefits: Explain why a feature matters to the customer.
- Use formatting: Bullet points and short paragraphs improve readability.
- Keywords: Include relevant terms naturally.
Craft a Compelling Short Description
Below the main description area, you’ll find a spot for a short description. This is often displayed prominently on category pages or near the product title on the single product page. It’s your chance to give a quick, enticing summary. Think of it as a teaser that encourages shoppers to read the full description or add the item to their cart. Make it punchy and focused on the main selling points. A good short description can significantly impact conversion rates.
This brief summary should capture the essence of your product and entice the customer to learn more. It’s a prime piece of real estate on your product page, so make every word count.
Configuring Product Data
This is where the real magic happens for your product listings. WooCommerce gives you a lot of control over how your products are presented and managed, and it all happens in the ‘Product data’ section. It might look a bit busy at first, but once you get the hang of it, it’s pretty straightforward.
Understanding Product Data Fields
The ‘Product data’ box is your central hub for all the nitty-gritty details. It’s broken down into several tabs, each handling a different aspect of your product. Think of it like filling out a detailed form for each item you sell.
Selecting the Appropriate Product Type
First things first, you need to tell WooCommerce what kind of product you’re adding. This is done via a dropdown menu right at the top of the ‘Product data’ section. The most common type is a ‘Simple product’, which is for items that don’t have any options like size or color. But WooCommerce offers more:
- Simple product: For straightforward items.
- Grouped product: Bundles of related simple products, like a set of tools.
- External/Affiliate product: Links to products sold on other sites, often used for dropshipping or affiliate marketing.
- Variable product: Products with variations, such as clothing with different sizes and colors. This is super common for apparel or anything with choices.
You can also check boxes for ‘Virtual’ (for services or digital goods that don’t need shipping) or ‘Downloadable’ (for files customers can download after purchase). Choosing the right type affects the fields that appear later.
General Product Settings
This tab is all about the basics. You’ll set your product’s price here. There’s a ‘Regular price’ field, which is the standard price. Then there’s a ‘Sale price’ field. If you put a price here, your product will show up as being on sale. You can even schedule sale prices, which is handy for promotions. It’s a good idea to set a regular price even if you’re running a sale, so customers can see the savings. This is also where you can add a short note that gets sent to customers after they buy your product.
Keeping your pricing clear and competitive is key. Don’t forget to consider your profit margins when setting these numbers. A well-priced product attracts buyers and helps your business grow.
Inventory Management
Moving to the ‘Inventory’ tab, this is where you can keep track of your stock. You’ll need to set a SKU (Stock Keeping Unit), which is a unique code for each product. This helps you manage your inventory efficiently. You can choose to ‘Manage stock?’ and then enter the quantity you have on hand. WooCommerce will then automatically update the stock level when an item is sold. You can also decide if a product should be sold individually (meaning a customer can only buy one at a time) or if backorders are allowed. Proper inventory tracking helps prevent overselling and keeps customers happy.
Shipping Details
The ‘Shipping’ tab is for physical products. Here, you’ll enter the product’s weight and dimensions. These are important for calculating shipping costs accurately. You can also assign a ‘Shipping class’ if you’ve set up different shipping rates for different types of products. Getting these details right means fewer surprises for your customers at checkout and fewer headaches for you.
Linked Products
This tab is great for increasing sales. You can link related products here. ‘Upsells’ are suggestions for more expensive or better products that you want customers to consider instead of the current one. ‘Cross-sells’ are products that complement the one being viewed, often shown in the cart. Think of it as suggesting a matching tie with a shirt. This can really boost your average order value. You can find more tips on how to boost e-commerce sales by using these features effectively.
Attributes
Attributes are features that define variations of a product, like size, color, or material. For example, if you’re selling a t-shirt, you’d add ‘Color’ as an attribute and list ‘Red’, ‘Blue’, ‘Green’. Then you’d add ‘Size’ and list ‘Small’, ‘Medium’, ‘Large’. These attributes are what allow customers to choose their preferred option on the product page. They also help with filtering products on your site. You can add custom attributes or use global ones that you’ve set up elsewhere in WooCommerce.
Advanced Settings
Finally, the ‘Advanced’ tab has a few extra options. You can add a ‘Purchase note’ that’s sent to the customer after they buy the product. You can also choose whether to allow customer reviews for this specific product and set a ‘Menu order’ to control how products are displayed in lists. These are smaller details, but they can add up to a better customer experience.
Enhancing Product Presentation
Making your products look good is a big deal. People buy with their eyes, right? So, let’s talk about how to make your product pages pop.
Adding Main Product Images
Your main product image is like the handshake of your online store. It’s the first impression, and you want it to be a good one. Use clear, high-resolution photos that show off your product from its best angle. Think about good lighting and a clean background – a plain white or light gray usually works wonders. This helps customers focus on what they’re actually buying.
It’s also smart to show the product in action if you can. If you’re selling a mug, show someone holding it. If it’s a tool, show it being used. This gives people a better idea of the product’s size and how it fits into their lives.
Creating Product Image Galleries
One picture is good, but a few are better. A gallery lets you show off your product from all sides and highlight different features. Customers can zoom in and get a really close look.
Here’s a quick rundown of what to include in your gallery:
- Front view: The standard shot.
- Back view: Don’t forget the other side!
- Side views: Show the depth or details.
- In-use shots: How does it look when someone’s using it?
- Detail shots: Close-ups of important features, like stitching on a bag or the texture of a fabric.
Remember to optimize your images before uploading them. Big image files can slow down your website, and nobody likes waiting around. There are plenty of free tools online that can help shrink image sizes without making them look blurry. It’s a small step that makes a big difference for your site’s speed and user experience.
Organizing Your Product Catalog
Now that you’ve got your product details sorted, it’s time to make sure customers can actually find what they’re looking for. This is where categories and tags come into play. Think of categories as the main aisles in your store, and tags as the specific signs pointing to individual items.
Assigning Product Categories
Categories help group similar products together. For instance, you might have a "T-Shirts" category, and within that, subcategories like "Graphic Tees" or "Plain Tees." This makes browsing much easier for shoppers. To add a category, you’ll see a "Product categories" box on the left side of your product editing screen. You can either select an existing one or click "Add new category" to create a fresh one. It’s a good idea to have a clear structure from the start to keep your store tidy.
Utilizing Product Tags
Product tags are more specific keywords that describe your product. If you’re selling a blue, cotton t-shirt with a band logo, your tags might include "blue t-shirt," "cotton," "band merch," or "summer wear." You’ll find a "Product tags" box right below the categories. Just type in your tags, separated by commas, and hit "Add." Using tags helps customers find products through searches, and it can also help you organize your inventory better. Properly using categories and tags can significantly improve your store’s searchability and user experience.
Think about how you shop online. When you’re looking for something specific, you often use keywords or browse through clear sections. Categories and tags are your way of providing that same clarity to your customers. It’s all about making it simple for them to discover your products.
Here’s a quick breakdown:
- Categories: Broad groupings (e.g., "Clothing," "Accessories").
- Tags: Specific descriptors (e.g., "organic cotton," "waterproof," "gift idea").
Getting this right from the start means less work later and happier customers who can find what they need without a fuss. It’s a key part of setting up your online store for success.
Finalizing and Publishing Your Product
Reviewing All Product Settings
Alright, you’ve put in all the details, picked out the perfect pictures, and sorted out categories and tags. Before you hit that publish button, it’s a really good idea to give everything one last look-over. Think of it like proofreading an important email before you send it. You want to make sure there are no typos in the product name or description, that the price is exactly what you want it to be, and that the images are showing up correctly. It’s also a good time to double-check that your product is in the right categories and has relevant tags so people can actually find it when they search your store.
Here’s a quick checklist to run through:
- Product Title & Description: Check for any spelling mistakes or awkward phrasing. Does it make sense?
- Pricing: Is the regular price correct? If you have a sale price, is that entered properly?
- Images: Are the main image and any gallery images uploaded and looking good?
- Organization: Are the correct categories and tags assigned?
- Product Type: Did you select the right type (simple, variable, etc.)?
Taking a few extra minutes here can save you a lot of headaches later on. It’s much easier to fix something before it goes live than after customers start seeing it.
Publishing Your New Product
Once you’re happy with how everything looks, it’s time to make your product available to the world. Look for the ‘Publish’ button, usually found in the top-right corner of the product editing screen. Just click it, and your product will be live on your store immediately. If you want to plan ahead, you can also schedule your product to go live at a specific date and time. Just look for the ‘Publish immediately’ option and click ‘Edit’ to set your preferred date and time. That’s it – your new product is ready for customers!
Wrapping Up Your Product Additions
So, there you have it. Adding products to your WooCommerce store doesn’t have to be a big chore. We’ve gone through the basic steps, from naming your item and writing a good description to picking the right product type and adding those all-important images. It might seem like a lot at first, but once you do it a few times, it really does become second nature. Keep practicing, and soon you’ll be populating your shop with new items like a pro. Remember, clear listings and good photos make a big difference for your customers, so take that extra minute to get it right. Happy selling!
Frequently Asked Questions
How do I start adding a new product in WooCommerce?
First, log into your WordPress account. Then, find the ‘Products’ section in the menu on the left side of your screen. Click on ‘Add New’ to begin adding your product.
What are the main parts of a product listing?
You’ll need to add a product title, which is its name, and a main description that tells customers all about it. There’s also a short description that gives a quick summary, usually shown near the product name.
What does ‘Product Data’ mean?
This is where you tell WooCommerce about your product. You can choose the type of product (like a simple item or one with options), set its price, manage inventory, and add shipping details.
Why are product images important?
Images help customers see what they’re buying. You need a main product image that shows up in your shop and you can also create a gallery with more pictures to give a better look at the item.
How can I help customers find my products easily?
You can organize your products using categories, which are like broad groups (e.g., ‘Clothing’), and tags, which are more specific keywords (e.g., ‘cotton shirt’). This makes it easier for shoppers to browse your store.
When is my product ready to be seen by customers?
After you’ve filled in all the details, checked everything, and added images and categories, you just need to click the ‘Publish’ button at the top of the page. Your product will then be live in your store!